Monday, October 21, 2024
Custom Spinning Activity Indicator in UIKit
Read time: 7 min
In today's iOS applications, providing users with visual feedback during data loading or processing tasks is crucial for a smooth user experience. While UIKit offers a default UIActivityIndicatorView, it might not always be the best choice. If you want to have a unique design and stand out from your competitors, you might need a custom implementation. In this tutorial, we'll show how such a custom implementation might look.
Designing the Custom Activity Indicator
First, we'll create a custom UIView subclass that draws a shape. This view will act as our activity indicator.
import UIKit

final class Spinner: UIView {
    private let shapeLayer = CAShapeLayer()

    override init(frame: CGRect) {
        super.init(frame: frame)
        setupShapeLayer()
    }

    required init?(coder: NSCoder) {
        fatalError("init(coder:) has not been implemented")
    }

    private func setupShapeLayer() {
        shapeLayer.lineWidth = 5
        shapeLayer.strokeColor = UIColor.label.cgColor
        shapeLayer.fillColor = UIColor.clear.cgColor
        shapeLayer.lineCap = .round
        shapeLayer.strokeEnd = 0.75

        let side = min(bounds.width, bounds.height)
        let radius = (side - shapeLayer.lineWidth) / 2
        shapeLayer.path = UIBezierPath(
            arcCenter: center,
            radius: radius,
            startAngle: 0,
            endAngle: 2 * .pi,
            clockwise: true
        ).cgPath
        shapeLayer.frame = bounds

        layer.addSublayer(shapeLayer)
    }
}
Explanation:
- Initialization: We create a subclass of
UIViewcalledSpinnerand initialize aCAShapeLayercalledshapeLayer. - Setting Up the Shape Layer: In
setupShapeLayer(), we configure the appearance ofshapeLayerby setting itslineWidth,strokeColor,fillColor, andlineCap. ThestrokeEndproperty is set to0.75to create a 75% complete circle. - Drawing the Path: We calculate the radius based on the minimum of the view's width and height to ensure the spinner fits within the view. A circular
UIBezierPathis created and assigned toshapeLayer.path. - Adding the Layer: The configured
shapeLayeris added as a sublayer to the view's main layer.
Next, we'll add rotation animation to make the indicator spin.
override init(frame: CGRect) {
    super.init(frame: frame)
    setupShapeLayer()
    addSpinnerAnimation()
}

private func addSpinnerAnimation() {
    let rotationAnimation = CABasicAnimation(keyPath: "transform.rotation.z")
    rotationAnimation.fromValue = 0
    rotationAnimation.toValue = CGFloat.pi * 2
    rotationAnimation.duration = 1.0
    rotationAnimation.repeatCount = .infinity
    rotationAnimation.timingFunction = CAMediaTimingFunction(name: .linear)
    shapeLayer.add(rotationAnimation, forKey: "rotationAnimation")
}
Explanation:
- Adding Animation in Initializer: We call
addSpinnerAnimation()within the initializer to start the animation as soon as the view is created. - Creating Rotation Animation: A
CABasicAnimationis configured to rotate theshapeLayeraround the z-axis from0to2πradians, resulting in a full rotation. - Animation Properties: The animation lasts
1.0second per rotation, repeats infinitely, and uses a linear timing function for consistent speed. - Starting the Animation: The animation is added to the
shapeLayerwith the key"rotationAnimation"to identify it.
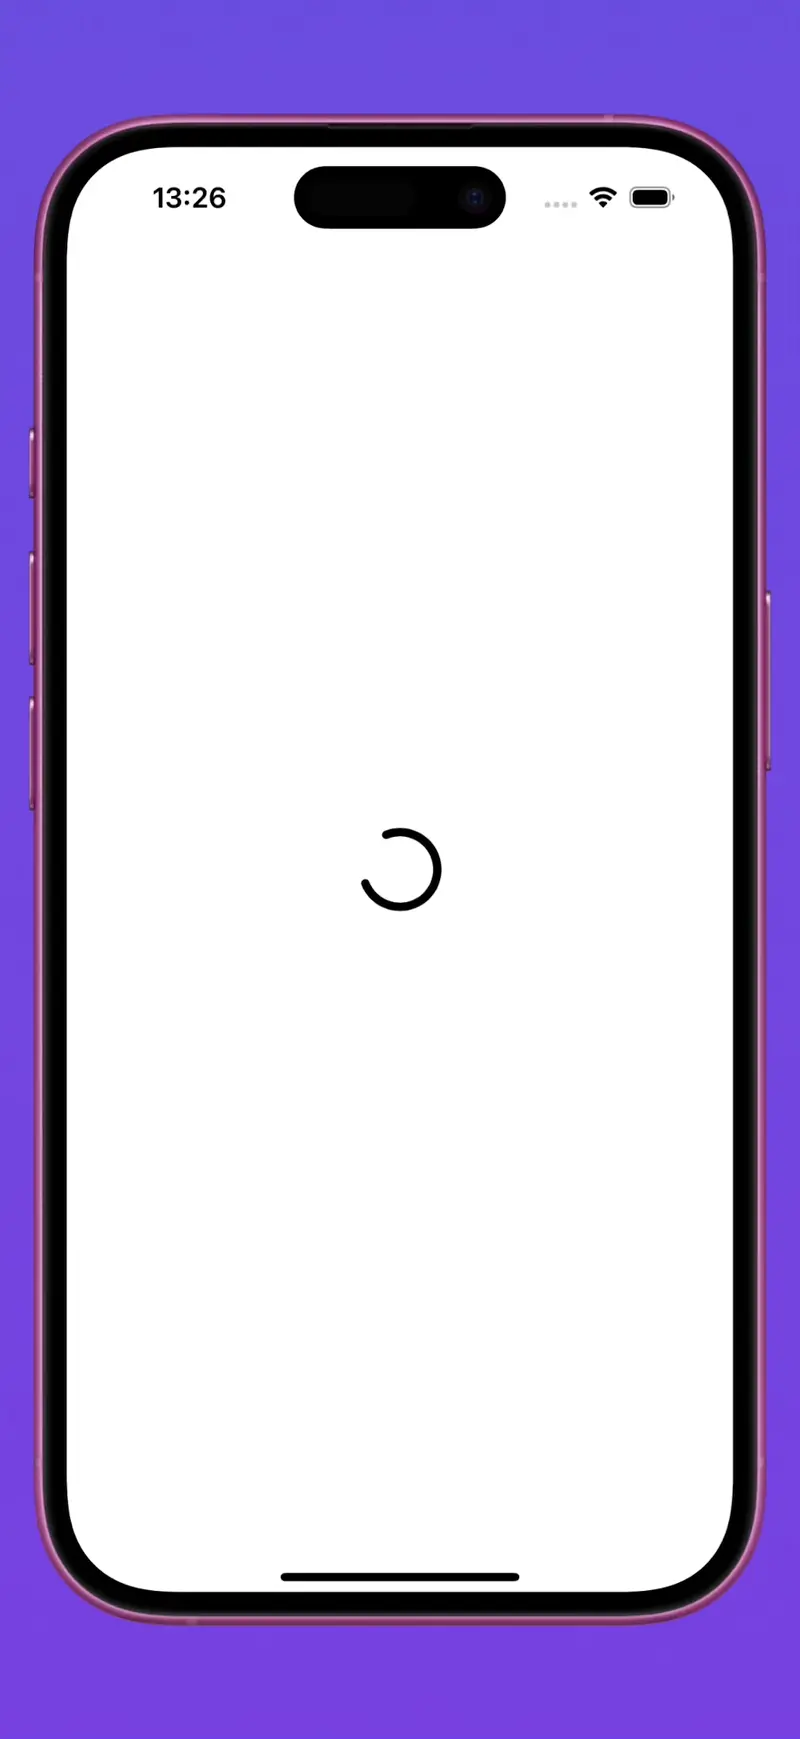
Integrating into a View Controller
Our spinner is ready! Now we can use it in the project. Let's add it to a view controller.
import UIKit

class ViewController: UIViewController {
    private let spinner = Spinner(frame: CGRect(x: 0, y: 0, width: 50, height: 50))

    override func viewDidLoad() {
        super.viewDidLoad()

        spinner.center = view.center
        view.addSubview(spinner)
    }
}
Explanation:
- Initializing the Spinner: We create an instance of
Spinnerof size50x50. - Positioning: We center the spinner within the main view.
- Adding to View: We add the spinner to the view hierarchy with
view.addSubview(spinner)so it becomes visible.
Fixing Bugs
Since we work with layers and Core Animation, we have to handle some corner cases.
Interface Style Changes
Try changing the theme in the simulator (Command + Shift + A). You'll notice that the spinner's color doesn't change.
To fix this, we need to register for interface style changes. Let's add a method that handles the changes and register for changes in the initializer.
override init(frame: CGRect) {
    super.init(frame: frame)
    setupShapeLayer()
    addSpinnerAnimation()
    registerForTraitChanges([UITraitUserInterfaceStyle.self]) { (view: Self, _: UITraitCollection) in
        view.handleTraitChanges()
    }
}

private func handleTraitChanges() {
    shapeLayer.strokeColor = UIColor.label.cgColor
}
Explanation:
- Registering for Trait Changes: We call
registerForTraitChangeswith[UITraitUserInterfaceStyle.self]to listen for changes in the user interface style (light or dark mode). - Updating Stroke Color: In
handleTraitChanges(), we updateshapeLayer.strokeColortoUIColor.label.cgColorto match the current interface style. - Dynamic Color Adaptation: By updating the stroke color when the trait changes, we ensure the spinner adapts to theme changes in real-time.
Close / Open App
If we try to close the app and open it again, we'll see that the animation has disappeared. This is because all CA Animations are removed from layers when the app goes to the background. But we can easily fix it by adding the animation back when the app becomes active. To do this, let's add an observer in the initializer and a handler method.
override init(frame: CGRect) {
    super.init(frame: frame)
    setupShapeLayer()
    addSpinnerAnimation()
    registerForTraitChanges([UITraitUserInterfaceStyle.self]) { (view: Self, _: UITraitCollection) in
        view.handleTraitChanges()
    }
    NotificationCenter.default.addObserver(
        self,
        selector: #selector(handleAppMovedFromBackground),
        name: UIApplication.didBecomeActiveNotification,
        object: nil
    )
}

deinit {
    NotificationCenter.default.removeObserver(self)
}

@objc private func handleAppMovedFromBackground() {
    addSpinnerAnimation()
}
Explanation:
- Adding Observer: We add an observer for
UIApplication.didBecomeActiveNotificationto detect when the app becomes active again. - Handling App Activation: The
handleAppMovedFromBackground()method is called when the notification is received, and it restarts the spinner animation. - Cleaning Up: In
deinit, we remove the observer to prevent memory leaks or unexpected behavior.
Alternatives
Instead of developing a spinner from scratch, you can use our SwiftComponents library, which already includes a custom loader. This loader offers extensive customization options and is easy to integrate into your project.
Why Choose SwiftComponents Loader?
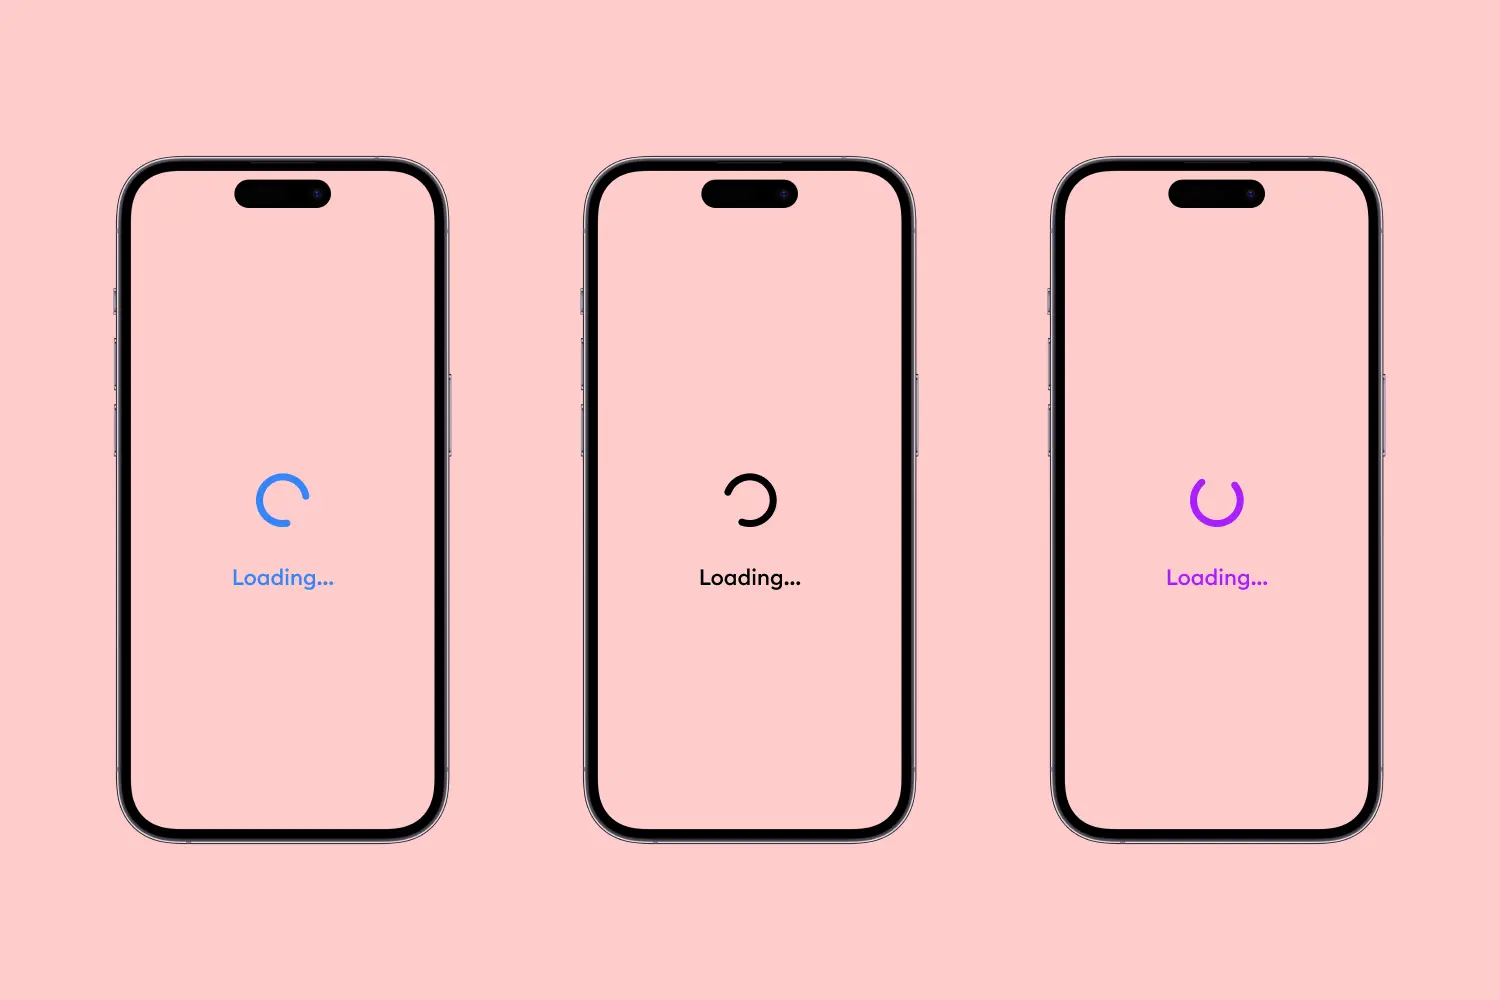
- Easy Customization: Adjust colors, sizes, and styles to match your app's design seamlessly.
- Time-Saving: Implementing a pre-built loader saves you hours of coding and debugging.
- Consistent Updates: Regularly maintained to ensure compatibility with the latest iOS versions.
- User-Friendly API: Designed with simplicity in mind for a smooth developer experience.
Here's how you can use the loader in your view controller:
import SwiftComponents
import UIKit

class ViewController: UIViewController {
    private let spinner = UKLoading(model: .init {
        $0.color = .accent
        $0.size = .large
    })

    override func viewDidLoad() {
        super.viewDidLoad()

        spinner.center = view.center
        view.addSubview(spinner)
    }
}
By using the SwiftComponents loader, you can focus on building your app's core features without worrying about the intricacies of custom animations and UI components. It's a ready-to-use solution that significantly streamlines your development process with minimal effort.
Conclusion
It's relatively straightforward to create an animated spinner, but there might be difficulties and unexpected behavior since we work with layers and Core Animation.
If you don't want to handle all the corner cases, consider using the SwiftComponents library that already has a spinner that is easy to use and customize. Check out all the components that we have and save hours of coding!